
Introduction K3s
K3s is a minimal distribution of Kubernetes.
You can install K3s on:
- WSL 2
- Hyper-V or VirtualBox virtual machines.
You should pick the WSL 2 installation method if your computer supports it.
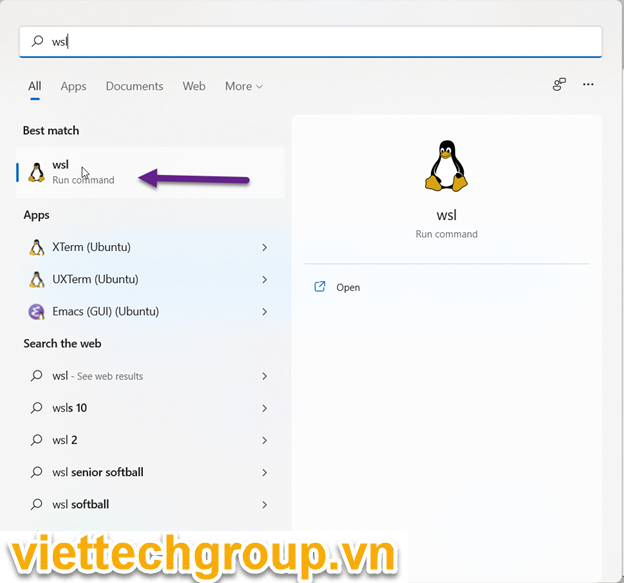
Using K3s with WSL 2
Now install K3s from this Github repository.
Open the WSL 2 shell and execute the following commands:
Dowload k3s from github
phuongnguyen@NVP-NBO-000:/tmp$ wget https://github.com/rancher/k3s/releases/latest
--2021-09-28 23:10:31--  https://github.com/rancher/k3s/releases/latest
Resolving github.com (github.com)... 20.205.243.166
Connecting to github.com (github.com)|20.205.243.166|:443... connected.
HTTP request sent, awaiting response... 301 Moved Permanently
Location: https://github.com/k3s-io/k3s/releases/latest [following]
--2021-09-28 23:10:31--  https://github.com/k3s-io/k3s/releases/latest
Reusing existing connection to github.com:443.
HTTP request sent, awaiting response... 302 Found
Location: https://github.com/k3s-io/k3s/releases/tag/v1.22.2+k3s1 [following]
--2021-09-28 23:10:32--  https://github.com/k3s-io/k3s/releases/tag/v1.22.2+k3s1
Reusing existing connection to github.com:443.
HTTP request sent, awaiting response... 200 OK
Length: unspecified [text/html]
Saving to: ‘latest’

latest                            [ <=>                                              ] 157.10K  --.-KB/s    in 0.1s

2021-09-28 23:10:33 (1.30 MB/s) - ‘latest’ saved [160873]

phuongnguyen@NVP-NBO-000:/tmp$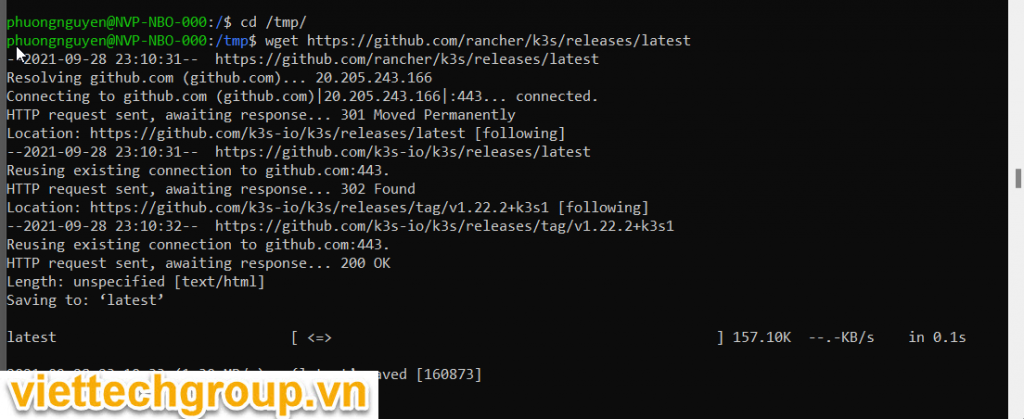
Run command
chmod +x k3s
sudo ./k3s server
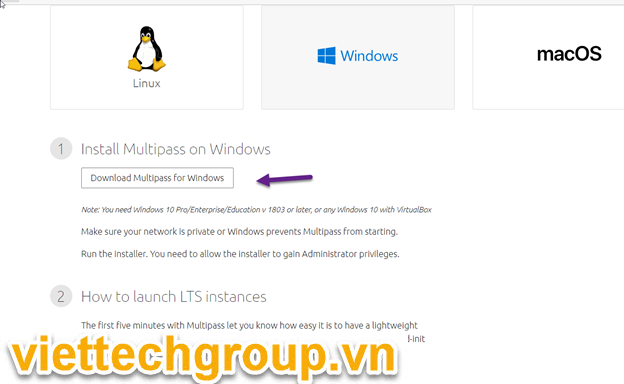
If your computer doesn’t support WSL 2, you can try MultiPass.
Using K3s with MultiPass
MultiPass is a tool that creates and manages virtual machines that are based on Ubuntu.
You can download MultiPass with Chocolatey with:
You can download MultiPass with Chocolatey with:
choco install multipass -y
Installing the following packages:
multipass
By installing you accept licenses for the packages.
# truncated output
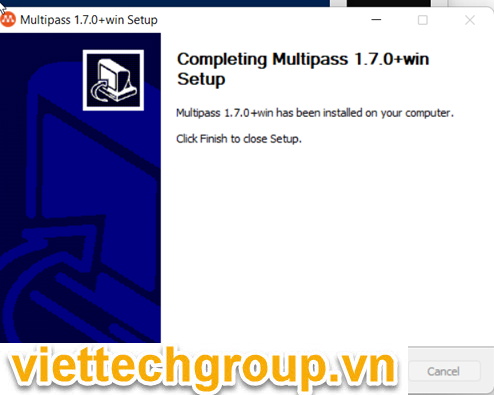
The install of multipass was successful.Once downloaded, run the executable file and choose installation options.
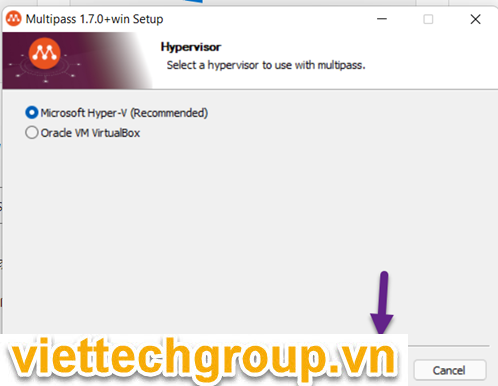
During the installation, you’ll be asked if you want to use Hyper-V or VirtualBox.
If you have Hyper-V, go for it.
Otherwise, stick to VirtualBox.
To launch a node with Multipass, open PowerShell and execute:
multipass launch -n node1
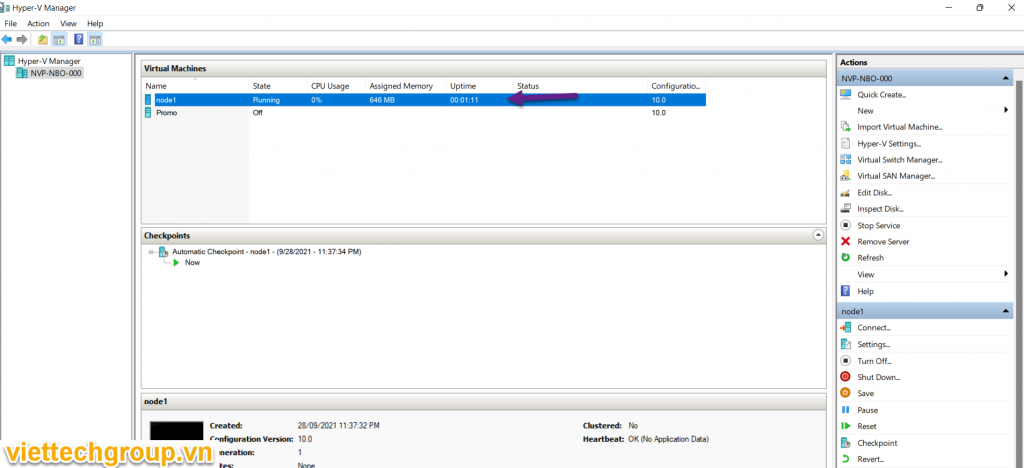
Here you created a node with default configurations of 1GB RAM and one CPU named node1.
To verify if the node exists, you can execute:
PS C:\Users\Administrator> multipass list
Name                    State             IPv4             Image
node1                   Running           172.24.76.35     Ubuntu 20.04 LTS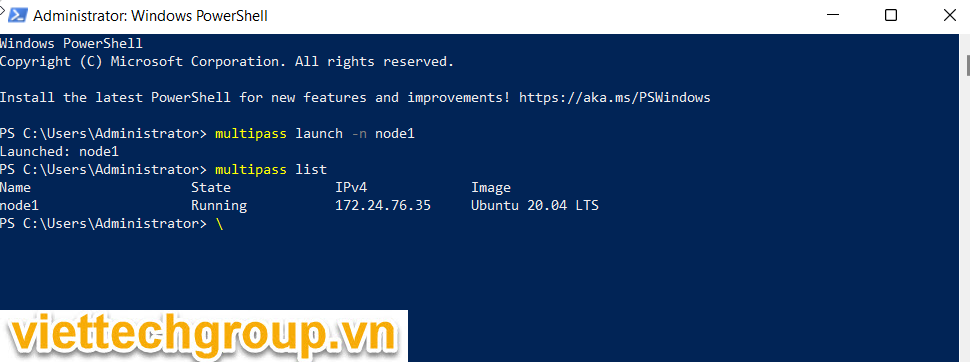
Encountering an error because of VirtualBox or Hyper-V
Although Hyper-V is recommended, there’s a chance it just might not work on your system.
In that case, you should try changing your hypervisor.
To change to Hyper-V, type: multipass set local.driver=hyperv
To change to VirtualBox, type: multipass set local.driver=virtualbox
When you perform either change, be sure to reboot your system.
Having a public network enabled
MultiPass can give errors on a public network.
Type the following command to get information on your network:
Get-NetConnectionProfile
PS C:\Users\Administrator> Get-NetConnectionProfile


Name             : Jsisen
InterfaceAlias   : Network Bridge
InterfaceIndex   : 78
NetworkCategory  : Public
IPv4Connectivity : Internet
IPv6Connectivity : Internet
The NetworkCategory variable will tell you if your network is set to public or private.
The output will also give you an InterfaceIndex variable.
You’ll have that to change the network category to Private.
To change your network profile, execute:
Set-NetConnectionProfile -InterfaceIndex 'your number' -NetworkCategory PrivateInstalling K3s on the node
multipass exec node1 -- bash -c "curl -sfL https://get.k3s.io | sh -"PS C:\Users\Administrator> multipass exec node1 -- bash -c "curl -sfL https://get.k3s.io | sh -"
[INFO] Finding release for channel stable
[INFO] Using v1.21.5+k3s1 as release
[INFO] Downloading hash https://github.com/k3s-io/k3s/releases/download/v1.21.5+k3s1/sha256sum-amd64.txt
[INFO] Downloading binary https://github.com/k3s-io/k3s/releases/download/v1.21.5+k3s1/k3s
[INFO] Verifying binary download
[INFO] Installing k3s to /usr/local/bin/k3s
[INFO] Creating /usr/local/bin/kubectl symlink to k3s
[INFO] Creating /usr/local/bin/crictl symlink to k3s
[INFO] Creating /usr/local/bin/ctr symlink to k3s
[INFO] Creating killall script /usr/local/bin/k3s-killall.sh
[INFO] Creating uninstall script /usr/local/bin/k3s-uninstall.sh
[INFO] env: Creating environment file /etc/systemd/system/k3s.service.env
[INFO] systemd: Creating service file /etc/systemd/system/k3s.service
[INFO] systemd: Enabling k3s unit
Created symlink /etc/systemd/system/multi-user.target.wants/k3s.service → /etc/systemd/system/k3s.service.
[INFO] systemd: Starting k3s
PS C:\Users\Administrator>After a little wait you should be able to see your cluster in action with:
S C:\Users\Administrator> multipass exec node1 -- sudo kubectl get nodes
NAME    STATUS   ROLES                  AGE   VERSION
node1   Ready    control-plane,master   92s   v1.21.5+k3s1
PS C:\Users\Administrator>
Congratulations, you installed K3s!
Good Luck to you
Phương Nguyễn