
Summary
You can review the previous sections here:
Part 1: INSTRUCTION TO INSTALL VEEAM BACKUP & REPLICATION 9.5B PART 1
Part 2: CONFIGURATION GUIDE VEEAM BACKUP & REPLICATION 9.5 B PART 2
Part 3: INSTRUCTIONS VEEAM BACKUP & REPLICATION 9.5B RESTORE VM ON VMWARE VSPHERE VCENTER PART 3
Context
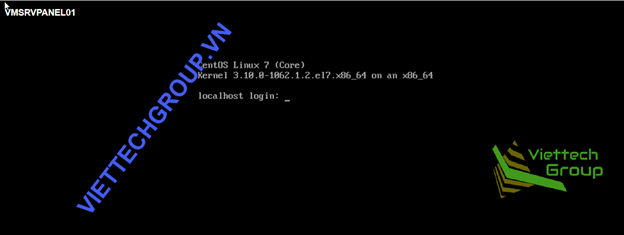
A broken virtual machine (VMSRVPANEL01) Centos7 fails to boot up
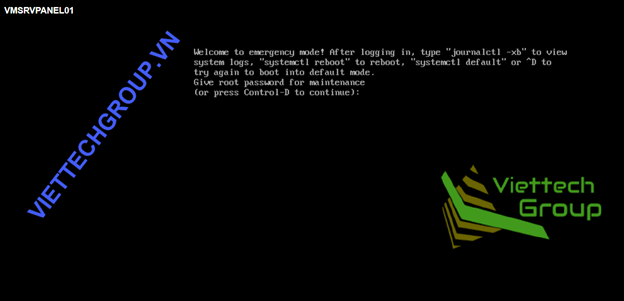
Assuming the error cannot enter the OS, now proceed to restore the operating system
First, Shutdown VM
Requirement
VM must be backuped
RESOTORE MODE
Instant VM Recovery
Veem Backups back up Home-> Backup->Disk select Job name to Restore
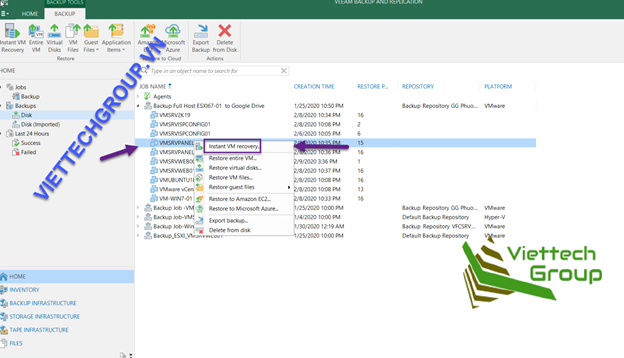
Select Instant VM Recovery to test before recovery. Due to broken OS we can restore the Entire VM.
Explain more Instant VM Recovery: this mode allows quick recovery for testing or emergency, the mechanism is that the Veeam server register VM needs to be restored to Vcenter or Esxi host and will mount the VM from Veeam to run so it will be very fast, about If it is stored, the datastores are in Veeam.
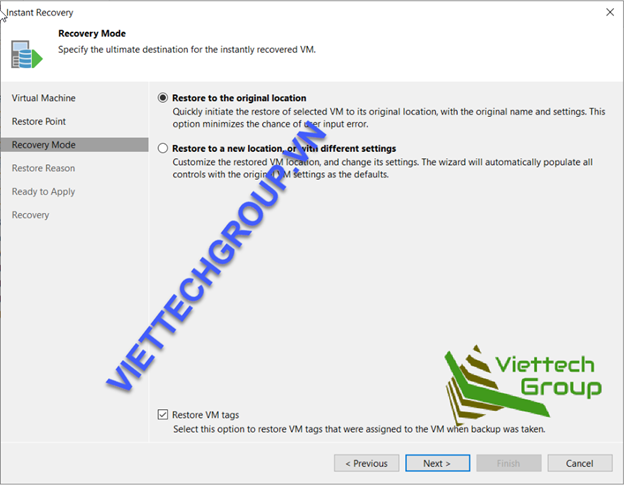
Here we choose the time of restore, we get the nearest date offline
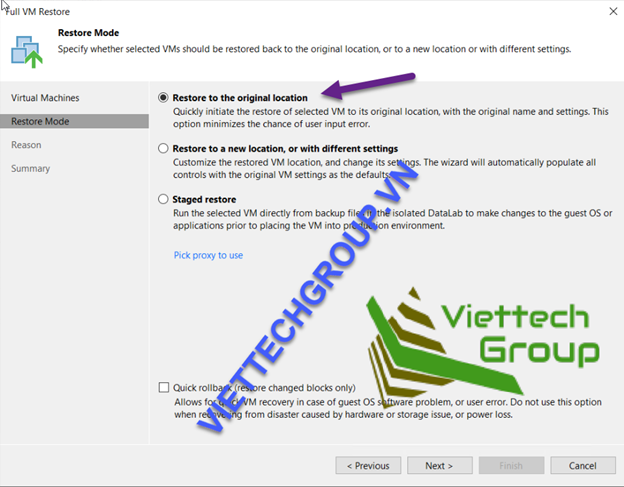
Restored to the orginal location: Restored properly at the VM root
Restored to new Location Or different Settings: Restore the VM to another directory or to other configurations.
In this lab, I selected the root directory for example, but actually should choose new location when we are ok, we choose the root directory again.
Select applied network connection and open offline
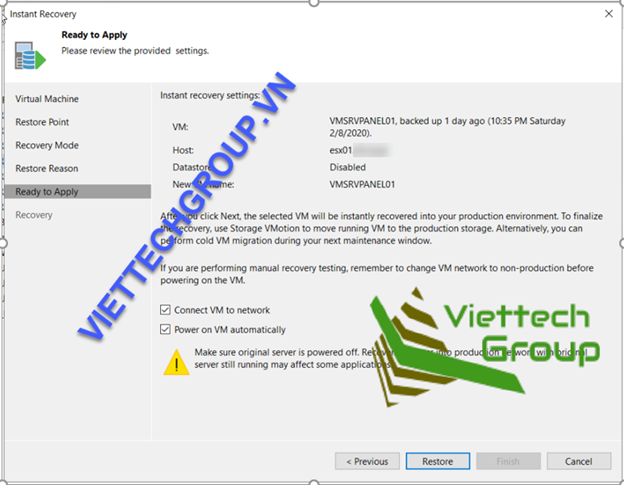
Select Restore offline. Because I restored to the same location, Veeam will delete the VM before restoring
Here we see
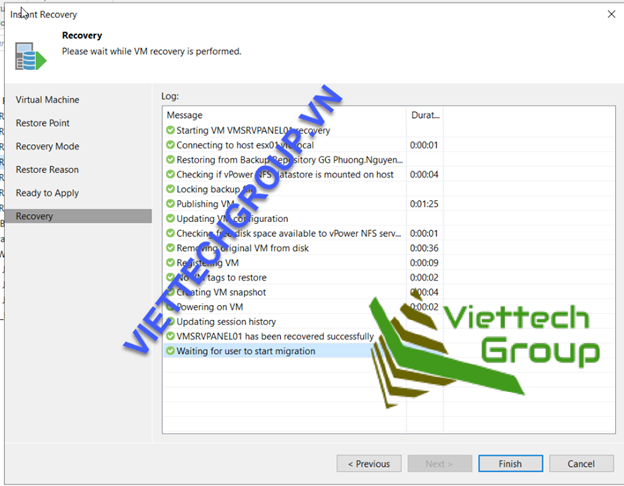
The VM was immediately started immediately. Can run always or then we restore
This means that the VM can quickly recover the Veeam that has mounted the VM running on the old host. And we have to proceed with the migration too.

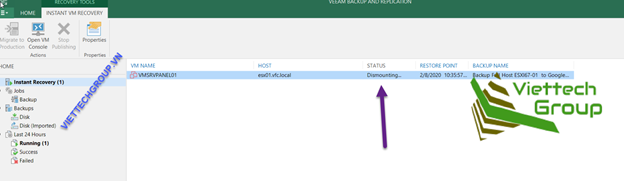
Waiting for user to start migration
Instant VM Recovery: It can be understood that the test environment before being restored
Let miration select stop session and select restore entire VM, which means restoring the entire VM
Restore Entire VM
Now we proceed to restore full offline similar to the steps in the vm instant restore offline
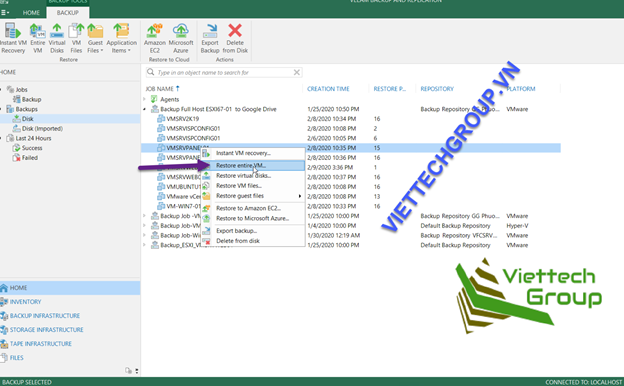
Choose to restore the original always
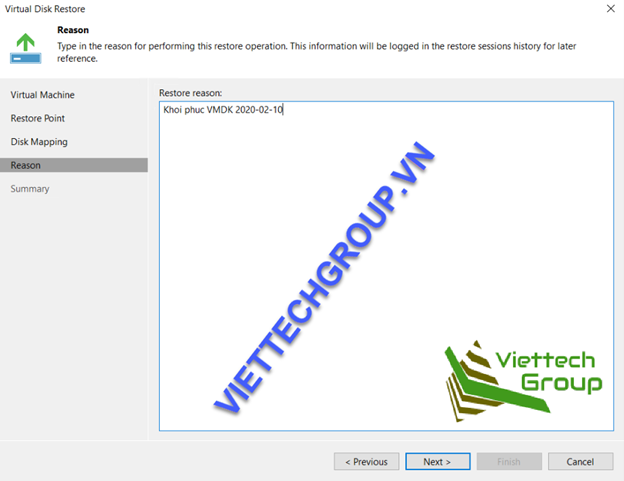
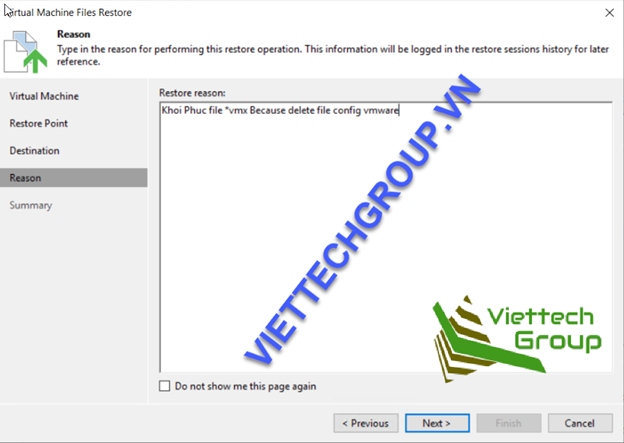
Note Reason
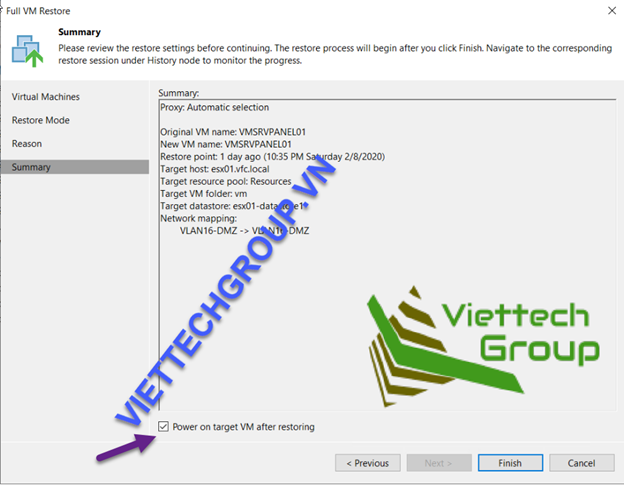
The process will perform a full VM root recovery.
This step will mount and copy from the Veeam backup to the esxi datastored, unlike the instant step just mount and the datastore is in the Veeam backup.
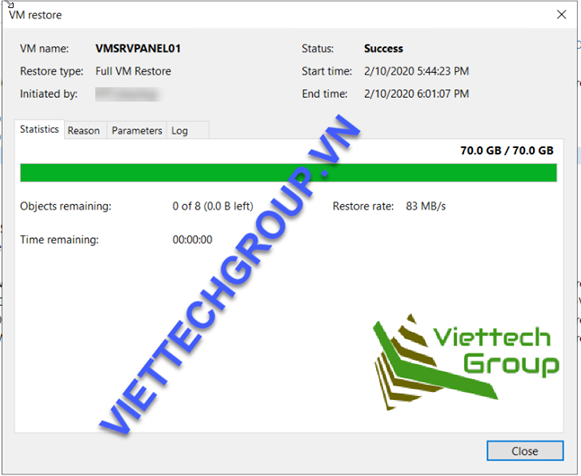
Restore takes about 13 minutes with a virtual machine running up. Time depends on network speed, virtual machine capacity, and number of disk read and write data of datastores
Check again Esxi has successfully restored
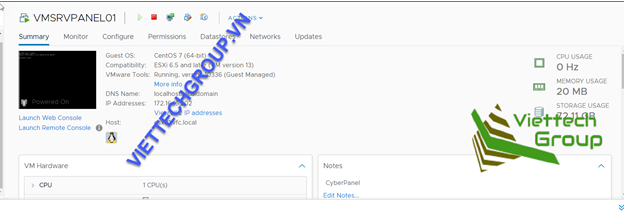
Good luck
Restore Virtual Disk
Meaning this level allows recovery at the virtual machine file level * .vmdk in the VM folder.
In case the virtual machine is broken, it is not enough to restore all the virtual machine as the first case. We can either restore the vmdk file and re-create another server or mount the old server to run.
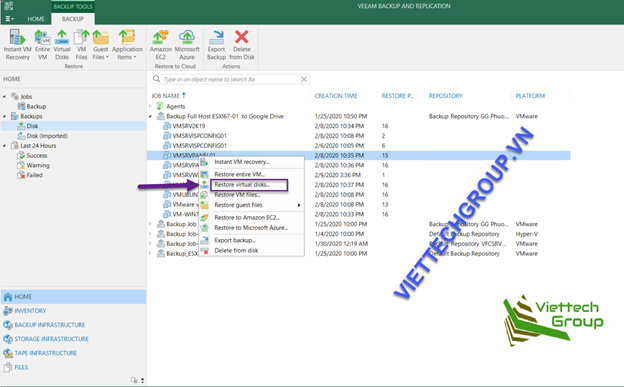
Select the nearest date for example 02/08/2020
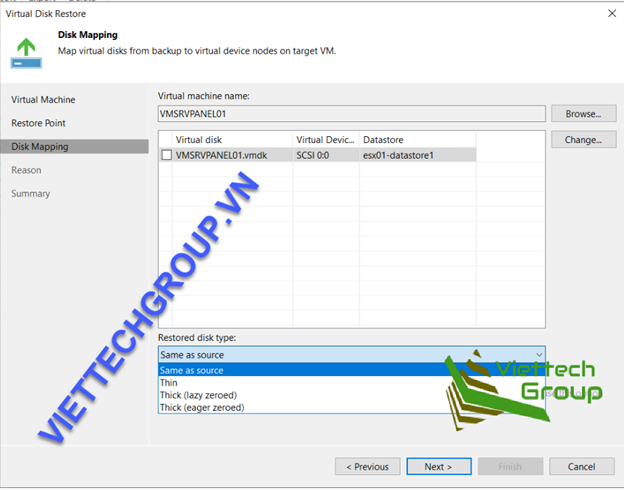
Select restore file * .vmdk to datastores and restore type disk should be the same as default
Wait for the recovery process
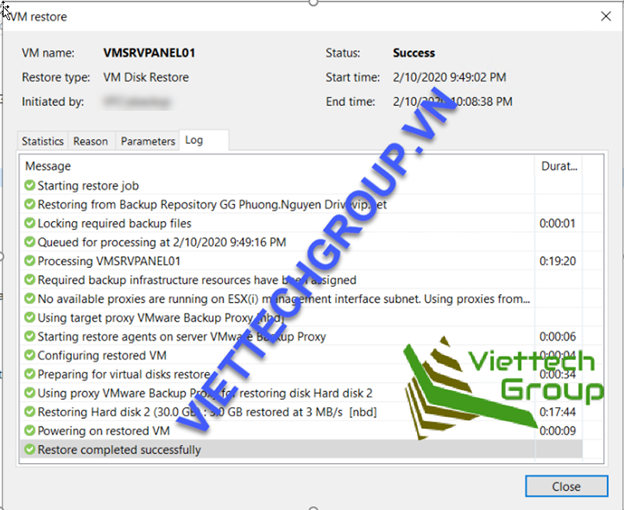
Restore ok, it takes about 19:20
Re-start the VM and reboot to see the results.
Restore file Virtual Machine Files
This means that it is allowed to restore at the virtual machine file level (VM files (* .vmdk, .vmx and files) in the VM folder. or corrupt files in the datastore.
Regarding the restore mechanism, it will load the image-leve block backup. Veeam Data Movers will read from the backup resposities and the backup proxy returns the VM File and the copy returns the root directory location folder in the VM datastore or the specified save location.
Contextual simulator
I accidentally or the problem corrupte file config * .vmx
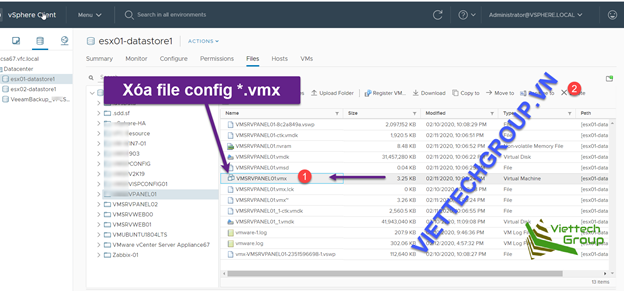
Error did not find the path

Then perform a restore
Home-> disk->Job name and VM
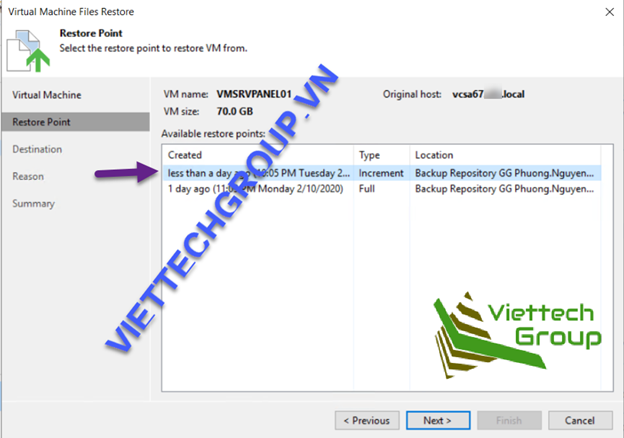
Choose the latest backup date
We just need to select a * .vmx file to recover. And choose the default save location then copy the file to the datastores
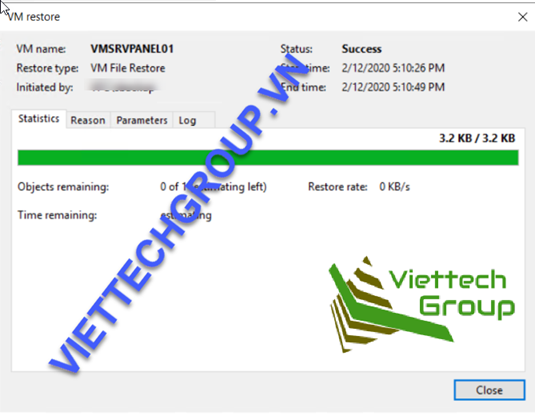
The file is relatively light and will not take much time
Next step we copy this file into the datastore of esxi to run
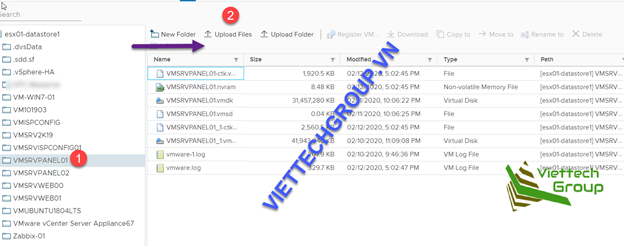
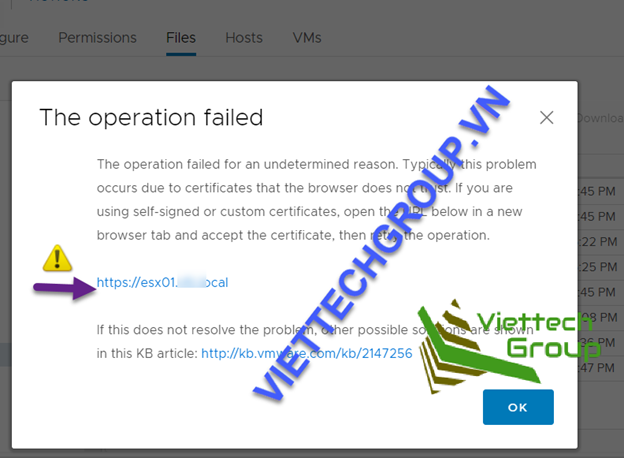
If there is an error related to SSL CA, please click to trust esxi host to run
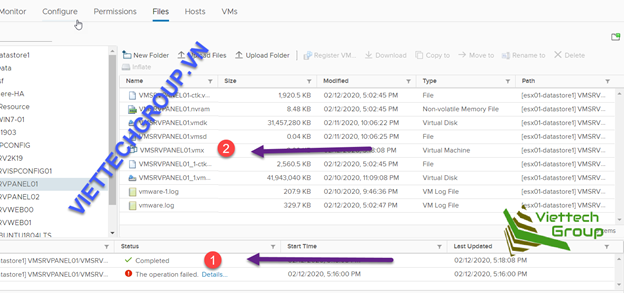
Upload success again.
We need to register with vCenter or esxi to identify again
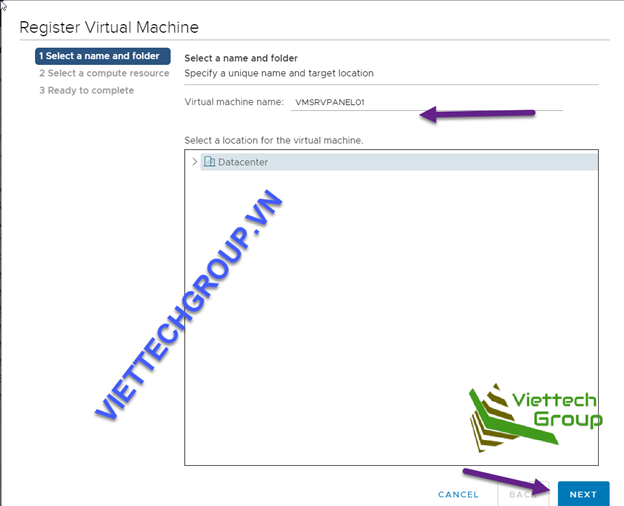
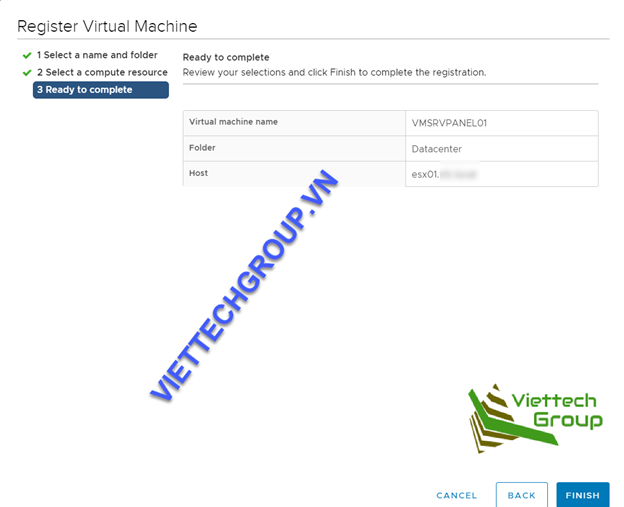
Retest Start and re-start the VM
Let’s Enjoy it
Good luck
Restored Guest Files
You can use IFLR (Instant File-Level Restore) to recover individual VM guest OS files and folders from VM backups and replicas. IFLR does not require you to extract the VM image to a staging location or start the VM prior to restore. You can restore files and folders directly from a regular image-level backup or replica to the necessary point in time.
IFLR works with any VM guest OS file system. Veeam Backup & Replication offers different tools and methods for different file systems:
- Restore from FAT, NTFS or ReFS: for file-level restore from Microsoft Windows VMs with NTFS, FAT and ReFS file systems, you can use the File-Level Restore wizard.
- Restore from Linux, Unix and Other File Systems: for file-level restore from Linux, Solaris, BSD, Novell Storage Services, Unix, Mac and other file systems, you can use the multi-OS File-Level Restore wizard.
Note that multi-OS file-level restore supports recovery of files and folders only. Recovery of other file system objects such as pipes is not supported.
- Restore from Other File Systems: for file-level restore from file systems not supported by file-level restore wizards, you can leverage the Instant VM Recovery functionality.
Note: when restoring this type we need to note the option at Backup is to check the enable dectect application and logon to authenticate the admin level inside the application or Sql, Exchange, ..
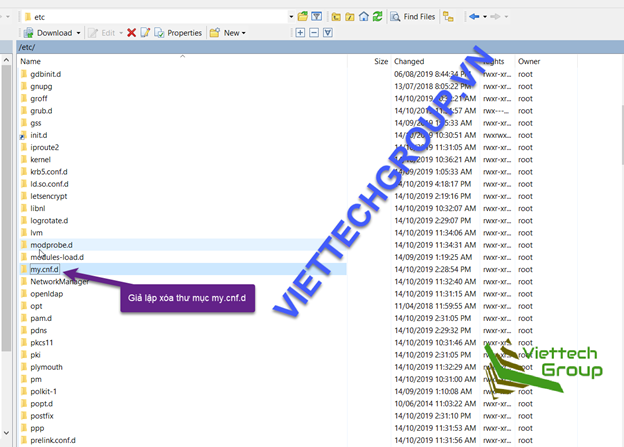
Context Restore data levels in the virtual machine. For example file server types in strings. The lab I am testing is linux so I will continue the context of the file inside linux.
The data /ect/my.cnf.d I deleted it by hand.
Proceed to restore
Remember to have backup
Choose the nearest date

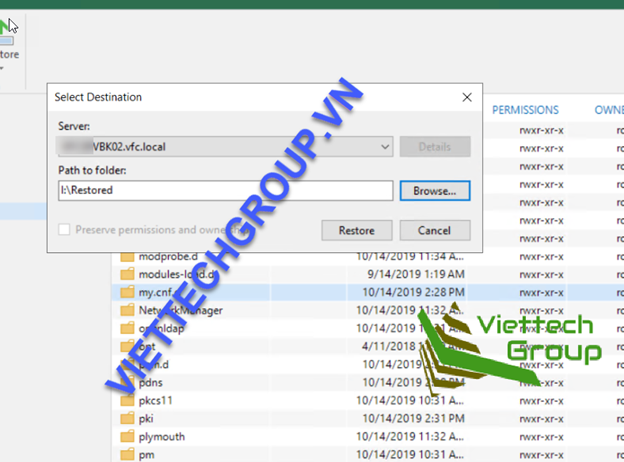
The helper appliance program will load, for example, to choose a host running mount that runs the VM temp to get the file
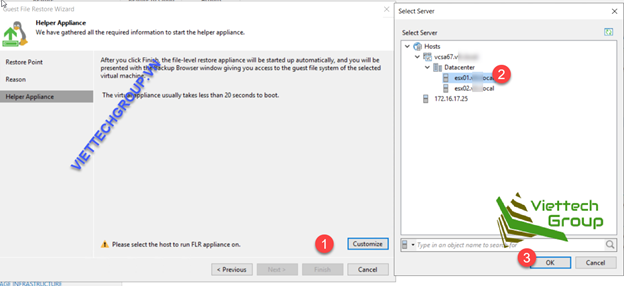
Or we can restore to the appliance’s virtual FTP server.
We see green check means that it satisfies FLR condition.
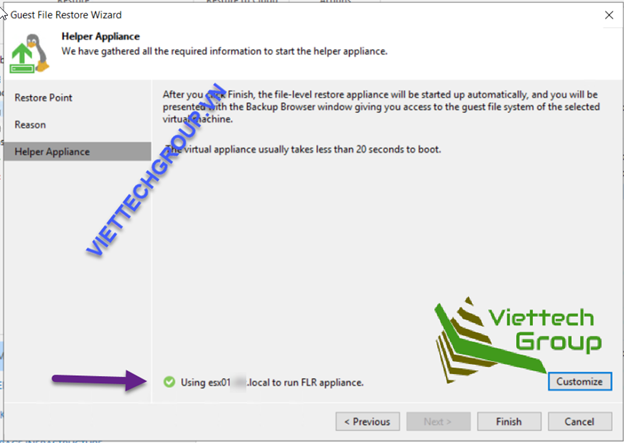
Select Finish after 20s the VM will boot up
Wait a little Backup will load FLR program offline
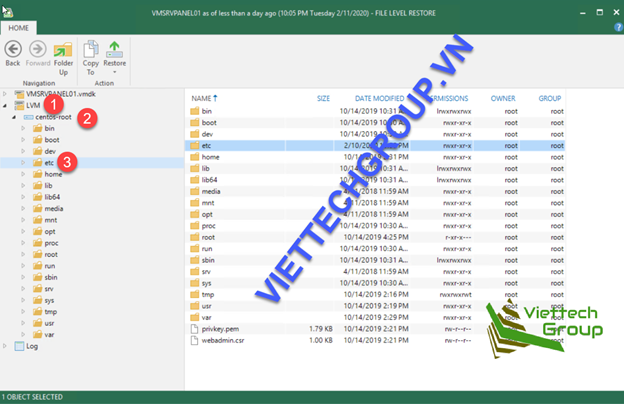
Note we have to select the * .vmdk-> sda1 file to have the boot file because this part is located in a separate partition sda1, and for normal files we choose go to LVM-> centos-root-> boot. Here, it is possible to load the files we deleted or corupt.
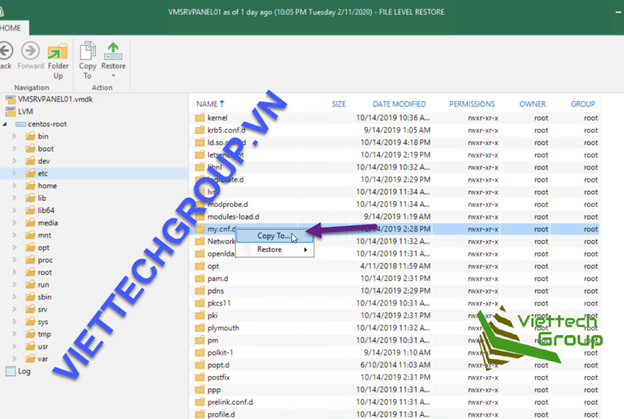
Select the deleted folder /etc/my.cnf.d=> restore-> overwrite or we can copy it out and transfer it to the VM.
In case you cannot choose the VM, we just give you the link
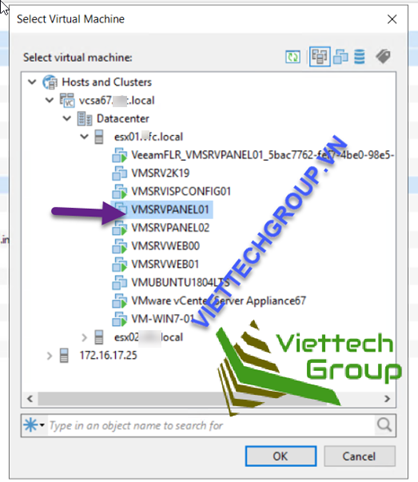
If you need to root authentication of the VM we log in to access it.
Let’s wait a bit for Server Veam to work loading and recovering files.
Let’s wait a bit for Server Veam to work loading and recovering files.
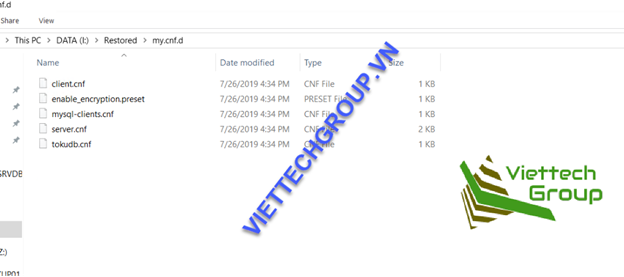
Restore finished we copy winscp copy into Linux offline
There are also some types of recovery via Azue, Amazon EC2, because there are no conditions, so the Admin only works here, .. or export or extract the .vbk file, .. You can save yourself.
Good luck to you